How to Inject Dysport: The Complete Professional Guide
Thinking about refreshing your look with Dysport? You’re not alone. Dysport is one of the most popular solutions for reducing facial wrinkles naturally — but understanding how to inject Dysport correctly is key to achieving the best possible results.
In this complete guide, we’ll walk you through the essentials of Dysport injections, including preparation, technique, safety tips, and why it's critical to use only authentic products.
What is Dysport and How Does It Work?
Dysport is an FDA-approved botulinum toxin type A injectable designed to temporarily relax muscles that cause dynamic wrinkles — such as frown lines, forehead wrinkles, and crow’s feet. When injected with precision, Dysport delivers smoother skin while preserving natural expressions, making it a favorite for those who want subtle, elegant improvements.
(Important: If you’re sourcing Dysport yourself, always Buy Dysport Online from trusted, verified suppliers like beautybyzizi.com.)
The Professional Steps to Inject Dysport
Injecting Dysport properly takes skill, precision, and a deep understanding of facial anatomy. Here’s a professional breakdown:
1. Pre-Treatment Consultation
Every successful Dysport treatment starts with a detailed consultation. During this process, the provider reviews the patient’s medical history, analyzes facial muscle movements, and maps out personalized injection points.
2. Preparing the Dysport Vial
Dysport is supplied as a powder that needs reconstitution:
- Dilution: Sterile saline is added to the vial — usually around 2.5 mL per 300-unit vial.
- Accuracy: Proper mixing ensures the right strength for optimal treatment.
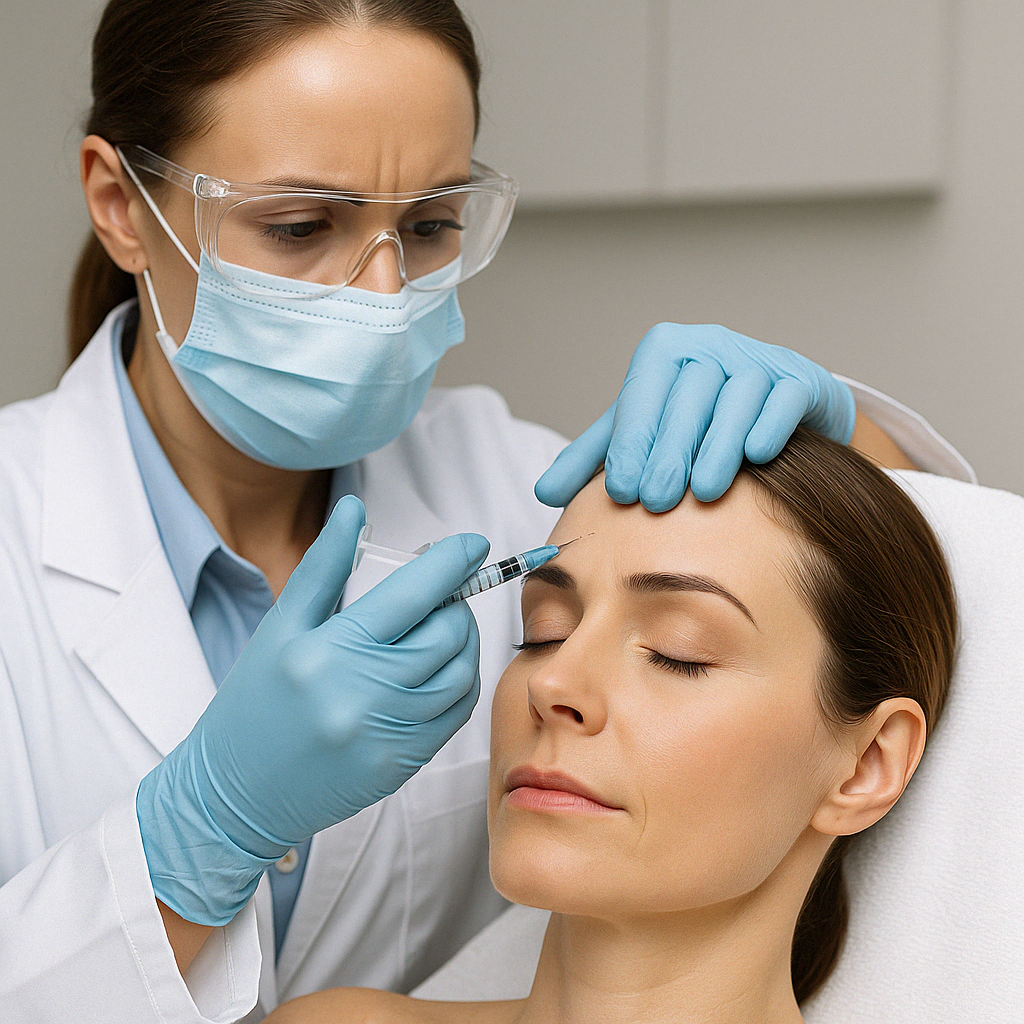
3. Marking the Target Areas
Popular injection sites include:
- Glabellar Lines (between eyebrows)
- Forehead Wrinkles
- Crow’s Feet (around the eyes)
Accurate marking helps deliver even, natural-looking results.
4. Injection Technique
- Needle Size: Use a fine 30-32 gauge needle.
- Depth: Inject intramuscularly at the correct depth.
- Method: Small, even doses spread across multiple points allow for smooth muscle relaxation without creating a “frozen” look.
5. Post-Injection Aftercare
- Patients should avoid massaging or touching the treated areas for 24 hours.
- Remain upright for at least four hours after treatment.
- Limit intense physical activity on the day of the procedure.
When Will You See Dysport Results?
One of Dysport’s advantages is its quick onset.
Most patients start noticing visible results within 2 to 3 days, with full effects appearing by day 7. These results typically last around 3 to 4 months before requiring a touch-up session.
Want the full deep-dive breakdown?
👉 How to Inject Dysport – A Professional Guide
Why Authentic Dysport Matters
Using genuine Dysport is not just about results — it’s about safety too. Counterfeit or low-quality products can cause adverse reactions and poor aesthetic outcomes. Always choose trusted suppliers to guarantee product quality and reliability.
👉 Ready to experience the best results? Buy Dysport Online today from beautybyzizi.com and trust in authenticity every time.
Final Thoughts: Mastering Dysport Injections
Learning how to inject Dysport properly ensures natural-looking beauty without the risks associated with poor technique or low-quality products. Whether you’re a practitioner or a patient, knowledge is power.
Stay informed. Stay beautiful. Stay safe.
👉 Buy Dysport Online now at beautybyzizi.com and unlock the power of genuine beauty!